Many british events rely on that iconic mirror ball sparkle, yet improper cleaning can ruin both the shine and safety of the display. Whether you own one for parties or maintain them professionally, keeping a mirror ball in top condition calls for more than just a quick wipe. This step-by-step process shows you exactly how to protect delicate surfaces, prevent costly damage, and guarantee a flawless look every time.
Table of Contents
- Step 1: Prepare Your Workspace And Assemble Cleaning Materials
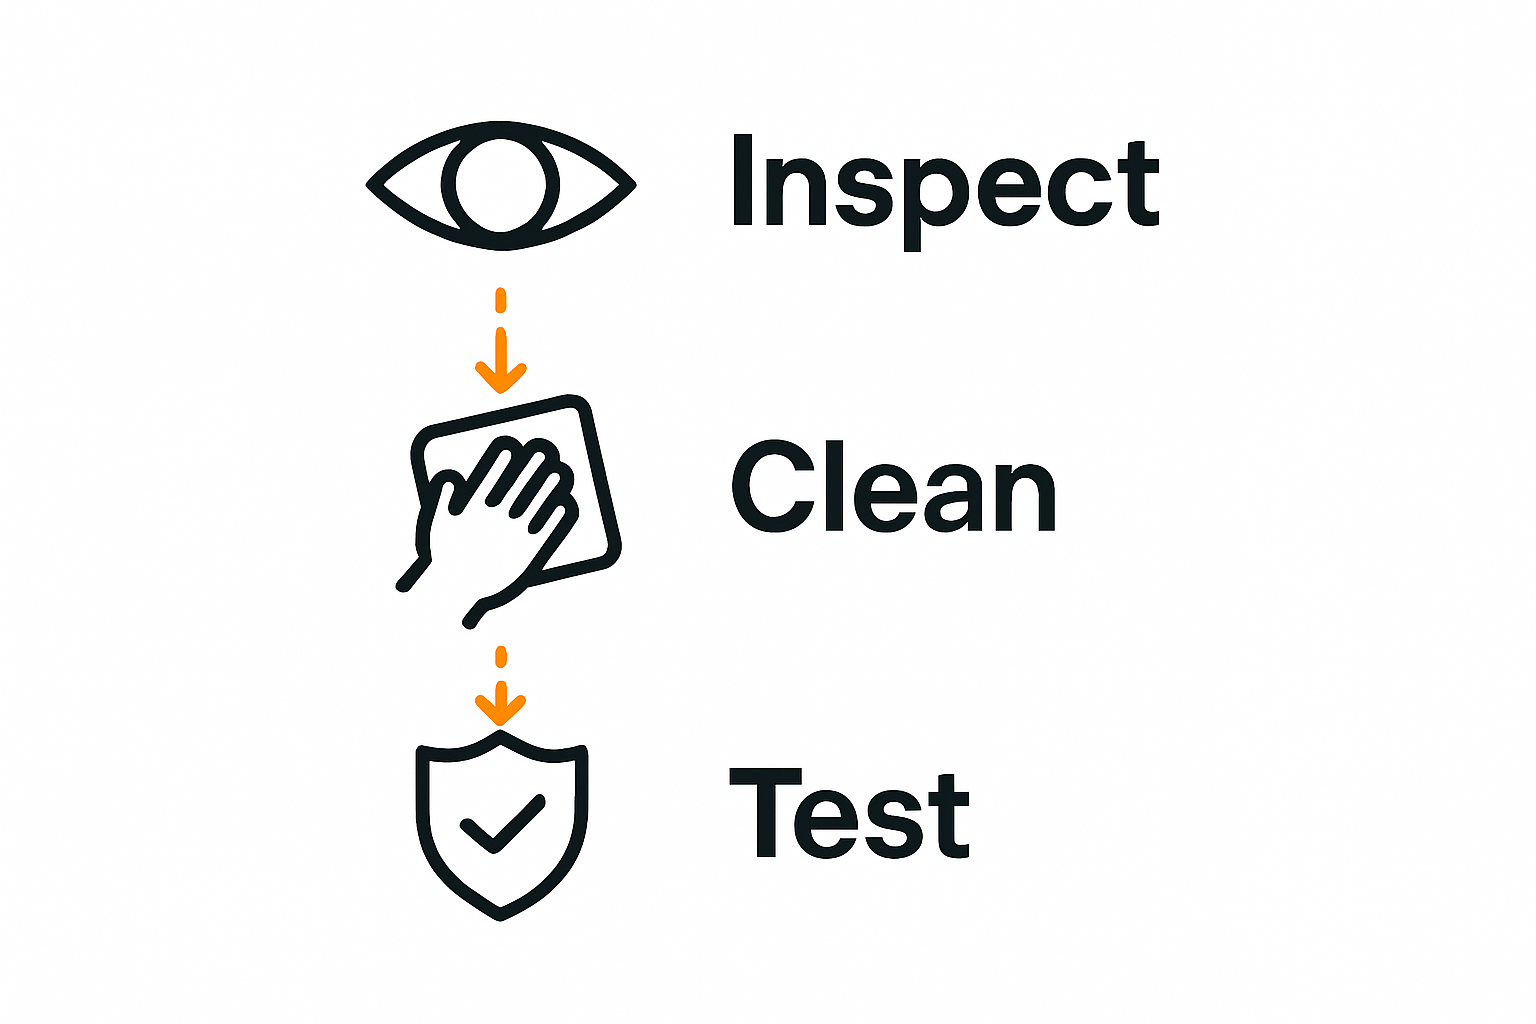
- Step 2: Inspect The Mirror Ball For Damage Or Loose Tiles
- Step 3: Clean The Surface Using Safe, Non-Abrasive Methods
- Step 4: Secure Mounting Hardware And Alignment Mechanisms
- Step 5: Verify Finish And Test For Operational Safety
Quick Summary
| Key Insight | Explanation |
|---|---|
| 1. Create a Safe Cleaning Space | Establish a clean, well-lit area to prevent damage while cleaning your mirror ball. |
| 2. Inspect for Damage Thoroughly | Check for loose or damaged tiles and assess the ball’s integrity before cleaning. |
| 3. Use Gentle Cleaning Techniques | Clean with soft cloths and non-abrasive solutions to maintain the mirror ball’s shine. |
| 4. Secure Mounting Hardware Properly | Ensure all mounting components are inspected and correctly aligned for safety. |
| 5. Conduct Final Checks and Tests | Perform a complete assessment to ensure functionality and safety before use. |
Step 1: Prepare your workspace and assemble cleaning materials
Getting your mirror ball sparkling starts with creating the perfect cleaning environment. A well-organised workspace prevents potential damage and ensures efficient maintenance. You’ll want to select a clean, spacious area with good lighting where you can spread out your cleaning materials without risk of accidentally knocking over your precious mirror ball.
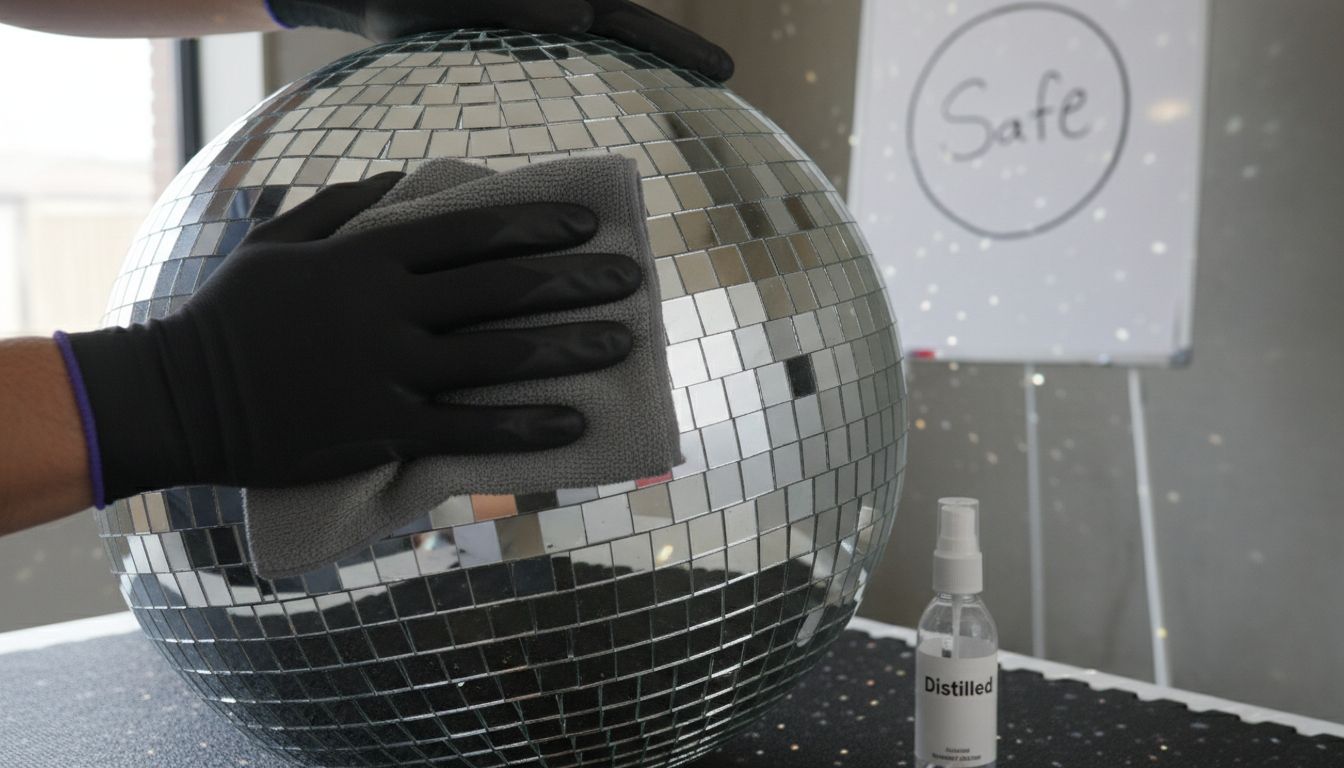
First, gather your essential cleaning toolkit. You’ll need soft microfibre cloths (absolutely no rough materials), isopropyl alcohol for gentle cleaning, distilled water to prevent mineral residue, lint-free white cotton gloves to avoid fingerprints, and a soft-bristled brush for delicate dust removal. Lay out a clean, soft towel on a flat surface to protect the mirror ball during the cleaning process. Consider placing the towel on a table at a comfortable working height to minimise strain and maximise precision.
Pro tip: Temperature matters. Ensure your workspace is at room temperature and away from direct sunlight or heat sources, which could potentially damage the mirror ball’s delicate surface. By preparing meticulously, you’re setting the stage for a successful and safe mirror ball maintenance session.
Step 2: Inspect the mirror ball for damage or loose tiles
Before diving into the cleaning process, a thorough mirror ball troubleshooting guide recommends carefully examining your mirror ball for any potential damage. Start by placing the mirror ball on your prepared soft towel under bright, even lighting that allows you to see every surface detail clearly. You’ll want to rotate the ball slowly, methodically checking each section for signs of wear or potential issues.
Look closely for telltale signs of damage such as tiles that appear loose, cracked, or slightly lifted from the underlying surface. Pay special attention to the mounting points and edges where tiles are most likely to become detached. Gently press tiles with minimal pressure using your cotton gloves to test their adhesion without risking further damage. If you notice any tiles that seem unstable or hear a subtle clicking sound when touched, these are clear indicators that repairs might be necessary before proceeding with cleaning.
Pro tip: Professional mirror ball safety standards suggest that even minor tile damage can compromise the entire ball’s structural integrity. If you discover more than three loose tiles or significant damage, consider consulting a professional restoration expert rather than attempting repairs yourself. Your careful inspection now can prevent potential catastrophic failures during future use.
Step 3: Clean the surface using safe, non-abrasive methods
Your mirror ball cleaning process requires precision and gentle techniques to maintain its pristine appearance. The mirror ball troubleshooting guide emphasises the importance of using specialised cleaning methods that protect the delicate surface of your disco ball. Begin by preparing two microfibre cloths: one slightly dampened with distilled water and isopropyl alcohol solution, and another kept completely dry for immediate buffing and removing any moisture.
Apply the cleaning solution sparingly to your dampened cloth, ensuring it is not wet but just slightly moistened. Gently wipe each mirror tile in a circular motion, using extremely light pressure to prevent tile displacement. Work in small sections, rotating the ball carefully to access each area methodically. Your goal is to remove dust, fingerprints, and light grime without applying excessive force that might compromise the tile adhesion you carefully checked during the previous inspection stage.
Pro tip: Professional mirror ball safety standards recommend wearing cotton gloves throughout the cleaning process to prevent oil transfer and potential surface damage. Always use a dabbing motion rather than aggressive rubbing, and immediately dry each cleaned section with your clean, dry microfibre cloth to prevent water spots or potential tile edge lifting. By maintaining a delicate touch, you will preserve your mirror ball’s brilliant shine and structural integrity.
Step 4: Secure mounting hardware and alignment mechanisms
Preparing your mirror ball for safe installation requires careful attention to mounting details and precise alignment techniques. The how to wire mirror balls safely guide recommends thoroughly examining all mounting components before reinstallation. Begin by inspecting the mounting bracket, swivel mechanism, and suspension points for any signs of wear, rust, or structural weakness that could compromise the ball’s stability.
Carefully align the mirror ball’s mounting bracket with your chosen installation surface, ensuring it sits perfectly level and can support the ball’s total weight. Use stainless steel mounting screws that match the specifications of your specific mirror ball model, and tighten them gradually in a cross pattern to distribute pressure evenly. Pay close attention to the rotational mechanism, checking that it moves smoothly without excessive play or resistance that might indicate potential alignment issues.
Pro tip: Professional mirror ball safety standards emphasise the critical importance of load testing your mounting hardware before final installation. Gently test the mounting point’s strength by applying gradual pressure and observing how the mechanism responds. If you detect any wobbling, unusual sounds, or structural uncertainties, consult a professional installation expert to prevent potential safety risks during performance or event use.
Step 5: Verify finish and test for operational safety
The final stage of mirror ball maintenance involves a comprehensive safety and quality assessment to ensure peak performance and aesthetic appeal. The mirror ball troubleshooting guide recommends a systematic approach to verifying your mirror ball’s condition after cleaning and mounting. Begin by examining the entire surface under bright, even lighting, rotating the ball slowly to check for any missed spots, residual smudges, or potential tile imperfections that might have been overlooked during earlier stages.
Test the rotational mechanism by gently spinning the mirror ball and observing its movement. It should rotate smoothly without any jerking, sticking, or unusual resistance. Listen carefully for any unexpected sounds that might indicate mechanical issues with the mounting hardware or internal suspension system. Your goal is to confirm that the ball moves effortlessly and reflects light consistently across all surface areas, creating that magical disco effect you desire.
Pro tip: Professional mirror ball safety standards stress the importance of a final load test and operational check before declaring your mirror ball ready for performance. Apply gentle, controlled pressure to verify the mounting’s stability and simulate potential movement conditions. If you detect any wobbling, unusual sounds, or visual inconsistencies, pause and reassess your installation to prevent potential safety risks during actual use. A thorough final inspection ensures your mirror ball will deliver spectacular illumination with complete peace of mind.
Keep Your Mirror Ball Dazzling and Safe with Expert Solutions
Maintaining a flawless shine and ensuring safety for your mirror ball requires careful attention to detail, from inspecting delicate tiles to securing mounting hardware correctly. If you have noticed loose tiles, uneven rotation, or worry about the longevity of your disco ball, the challenges outlined in the “Mirror Ball Maintenance Guide for Flawless Shine and Safety” highlight the importance of quality products and reliable accessories. Protect your investment and enjoy stunning reflections without the stress of unreliable equipment.

Discover a wide selection of high-quality mirror balls and essential accessories at mirror-balls.co.uk. Whether you need delicate replacement tiles, durable mounting brackets, or professional-grade disco balls for venues, our expertly curated range supports every step of your mirror ball care. Act now to upgrade your setup for safer installations and sparkling finishes by visiting our main page or explore our comprehensive mirror ball troubleshooting guide to identify the right solutions for your needs. Bring back that brilliant shine and secure your mirror ball with confidence today.
Frequently Asked Questions
How can I prepare my workspace for cleaning my mirror ball?
To prepare your workspace for cleaning your mirror ball, select a clean, well-lit area with enough space to avoid accidents. Gather essential materials such as soft microfibre cloths, isopropyl alcohol, distilled water, and gloves, and lay a soft towel on a flat surface to protect the mirror ball.
What should I inspect on my mirror ball before cleaning?
Before cleaning, inspect your mirror ball for any tile damage, including loose, cracked, or lifted tiles. Rotate the ball carefully under bright light, and gently press each tile with cotton gloves to check for stability, addressing any significant damage found.
What cleaning methods should I use for my mirror ball?
Use soft microfibre cloths and a gentle cleaning solution made of distilled water and isopropyl alcohol. Apply the solution sparingly to a damp cloth and wipe each tile in a light circular motion, drying immediately with a separate clean cloth to prevent moisture spots.
How do I ensure the mounting hardware is secure for my mirror ball?
To ensure the mounting hardware is secure, inspect the bracket and suspension points for any wear or damage before installation. Align the mirror ball properly, using stainless steel screws tightened in a cross pattern, and conduct a gentle load test to check for stability.
What steps can I take to verify the final finish and operation of my mirror ball?
To verify the finish and operation, examine the entire surface for missed spots and spin the ball to ensure smooth rotation. Listen for any unusual sounds, and apply gentle pressure to confirm that the mounting remains stable; retest if you notice any wobbling.
How often should I perform maintenance on my mirror ball?
Perform maintenance on your mirror ball at least once every few months to maintain its shine and safety. Schedule a thorough inspection and cleaning routine, especially before events, to ensure it remains in optimal condition.