Every British home or venue adding a mirror ball faces the crucial issue of safe and stable installation. Over 60 percent of DIY accidents in the United Kingdom stem from improper mounting or overlooked safety checks. Where and how you hang that mirror ball can make all the difference in preventing damage and keeping your space stylish and secure. This practical guide reveals the pro-level steps that help British enthusiasts avoid common pitfalls and achieve flawless results.
Table of Contents
- Step 1: Assess Your Mounting Location
- Step 2: Select Appropriate Fixtures And Hardware
- Step 3: Install Mounting Bracket Securely
- Step 4: Attach And Hang The Mirror Ball
- Step 5: Conduct Safety Checks And Tests
Quick Summary
| Main Insight | Detailed Explanation |
|---|---|
| 1. Assess the Mounting Location | Examine wall materials and their stability to ensure a safe installation of the mirror ball. Avoid thin surfaces and check for nearby support structures. |
| 2. Choose Suitable Fixtures | Use mounting hardware that matches the weight of the mirror ball and wall type. Select corrosion-resistant materials for durability. |
| 3. Securely Install Mounting Bracket | Follow precise drilling and alignment techniques for the mounting bracket to ensure ultimate safety and support for the mirror ball. |
| 4. Carefully Hang the Mirror Ball | Use robust suspension hardware for attachment, ensuring all connection points are secure and balanced for proper rotation and stability. |
| 5. Conduct Thorough Safety Checks | Perform systematic inspections and tests on the installation to confirm its structural integrity and reliability before use. |
Step 1: Assess Your Mounting Location
Successfully mounting a mirror ball begins with carefully evaluating your installation environment. Your mounting location determines the entire project’s safety and performance, making this initial assessment critical for preventing potential accidents or equipment damage.
Start by thoroughly examining the structural integrity of your chosen surface. Wall material and stability play a crucial role in secure mirror ball installation. Inspect walls for solid construction using materials like brick, concrete, or robust wooden framing that can support the mirror ball’s weight. Avoid mounting on plasterboard or thin surfaces without additional reinforcement. Check for nearby support structures such as sturdy ceiling beams or robust mounting points that can handle dynamic load distribution.
Temperature variations and environmental conditions are equally important considerations. Assess whether the location experiences significant thermal fluctuations or humidity changes that might compromise mounting hardware or the mirror ball itself. Areas near heating vents, direct sunlight, or high moisture zones can potentially impact your installation’s long-term stability and performance.
Professional tip: Carefully measure and mark your precise mounting point before drilling, using a spirit level to ensure perfect horizontal alignment and symmetry.
To help you select the correct hardware for your installation, here is a comparison of common wall materials and corresponding mounting approaches:
| Wall Material | Recommended Fixings | Key Considerations |
|---|---|---|
| Brick/Concrete | Masonry anchors, wall plugs | High load capacity, minimal reinforcement needed |
| Wooden beam | Heavy-duty wood screws | Locate solid beams for strongest support |
| Plasterboard | Toggle bolts, cavity fixings | Requires reinforcement, lower load tolerance |
| Metal stud | Special metal anchors | Test for strength; prefer alternative locations |
Step 2: Select Appropriate Fixtures and Hardware
Choosing the right fixtures and hardware is fundamental to creating a safe and secure mirror ball installation. Your selection will directly impact the stability and long-term performance of your setup.
Selecting compatible mounting hardware requires careful consideration of wall type and mirror ball weight. Start by determining the total weight of your mirror ball and matching it with robust mounting hardware designed to support that specific load. Consider using professional grade mounting brackets specifically engineered for suspended mirror balls. Look for fixtures made from corrosion resistant materials like stainless steel or galvanised metal that can withstand environmental stress and provide reliable support.
Pay close attention to the mounting points and connection mechanisms. Ensure your chosen hardware includes safety mechanisms such as secondary locking systems or backup suspension points. For rotating mirror balls, evaluate specialised motor mounting brackets that offer precise alignment and stable rotation. Match your fixtures to the specific environment whether you are installing in a commercial venue or a home entertainment space.
Professional tip: Always purchase mounting hardware from reputable suppliers and cross reference the weight specifications to ensure a minimum 2-3 times safety factor beyond your mirror ball’s actual weight.
Step 3: Install Mounting Bracket Securely
Installing your mounting bracket is a critical phase that demands precision and careful attention to ensure the ultimate safety of your mirror ball installation. This step transforms your preparation into a solid foundation for your project.
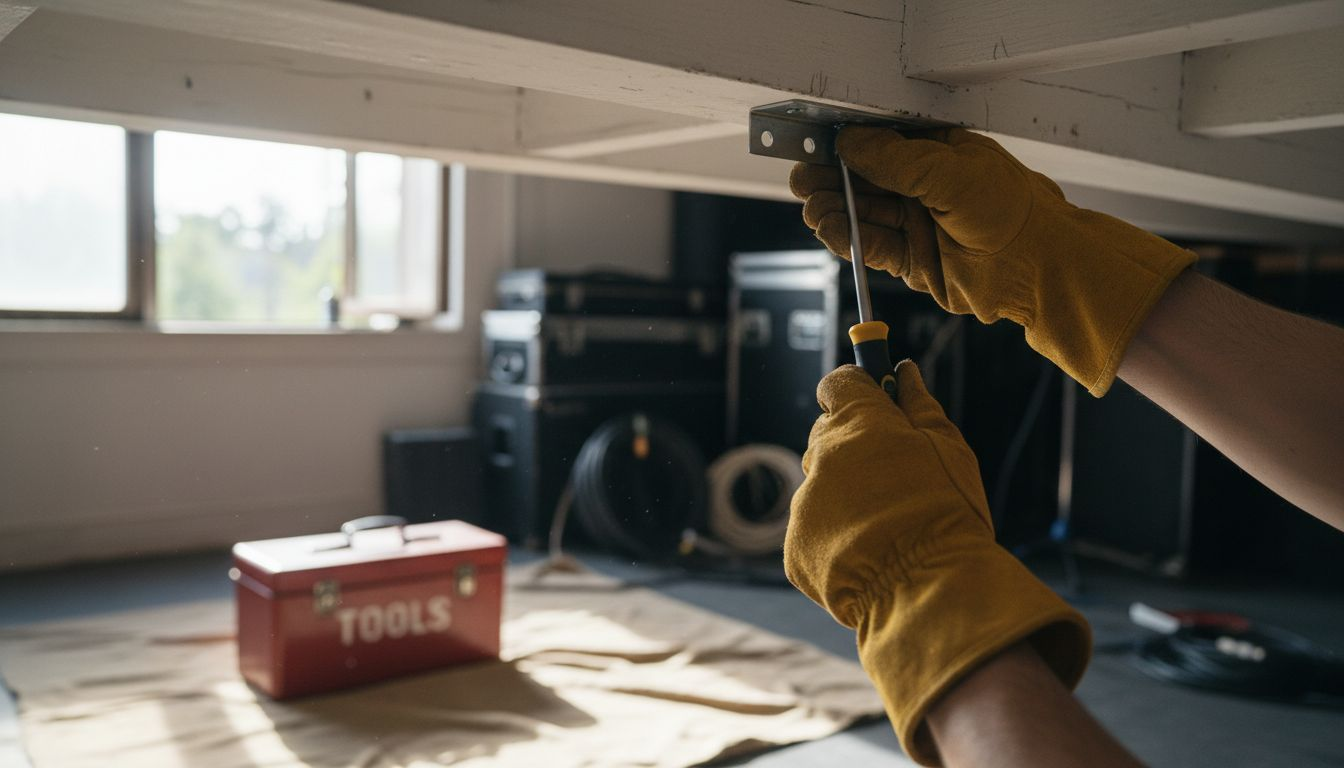
Proper bracket installation requires meticulous drilling techniques and precise alignment. Begin by marking your exact mounting points using a spirit level to guarantee perfect horizontal positioning. Select drill bits that match your wall material ensuring clean precise holes slightly smaller than your mounting screws. For brick or concrete surfaces use masonry drill bits with carbide tips, whilst wooden surfaces require standard metal drill bits. Insert wall plugs that correspond to your wall material and chosen bracket weight specifications. Tighten mounting screws gradually and evenly, applying consistent pressure to prevent structural weakness or misalignment.
Pay special attention to the bracket connection points. Verify that each mounting point can support significantly more weight than your mirror ball requires. Double check all connection mechanisms, ensuring they provide multiple points of contact and include safety redundancies. Test the bracket’s stability by applying gentle pressure before hanging your mirror ball, confirming it can withstand potential dynamic movements.
Professional tip: Always wear safety glasses during drilling and use a stud finder to locate structural support points that offer maximum mounting reliability.
Step 4: Attach and Hang the Mirror Ball
The moment of hanging your mirror ball marks the culmination of your careful preparation and meticulous installation process. Precision and patience are key to achieving a secure and visually stunning result.
Proper attachment techniques involve carefully balancing the mirror ball and ensuring multiple secure connection points. Begin by checking that your mounting bracket can fully support the mirror ball’s weight distribution. Attach the mirror ball using robust suspension hardware such as safety cables or robust hanging chains that provide multiple anchor points. When connecting the ball, ensure each attachment point is tightened securely but not overtightened which could potentially damage the ball’s mounting mechanism. Use locking carabiners or specialised mirror ball clips that offer both stability and quick release capabilities if needed.
Carefully align the mirror ball to ensure perfect horizontal positioning and smooth rotation. Test the hanging mechanism by gently rotating the ball and observing its movement. Check that all connection points remain stable under slight movement and that the ball hangs perfectly level. For motorised mirror balls, verify that the motor connection allows unrestricted rotation without any tension or binding in the suspension system.
Professional tip: Always perform a gentle stress test by applying light pressure and observing the mirror ball’s movement before finalising the installation, ensuring absolute stability and safety.
Step 5: Conduct Safety Checks and Tests
The final stage of mirror ball installation involves comprehensive safety verification to ensure your setup meets professional standards and prevents potential accidents. Thorough testing transforms your careful preparation into a reliable and secure installation.
Systematic safety checks are crucial for verifying the structural integrity and stability of mirror ball mounting systems. Begin with a visual inspection examining all connection points for any signs of weakness or potential stress. Check that mounting brackets remain firmly anchored and that suspension cables or chains show no signs of wear or fraying. Apply gentle but firm pressure to test the overall stability testing each attachment point systematically. For motorised mirror balls, verify the rotation mechanism operates smoothly without unexpected jerking or resistance that could indicate mechanical strain.
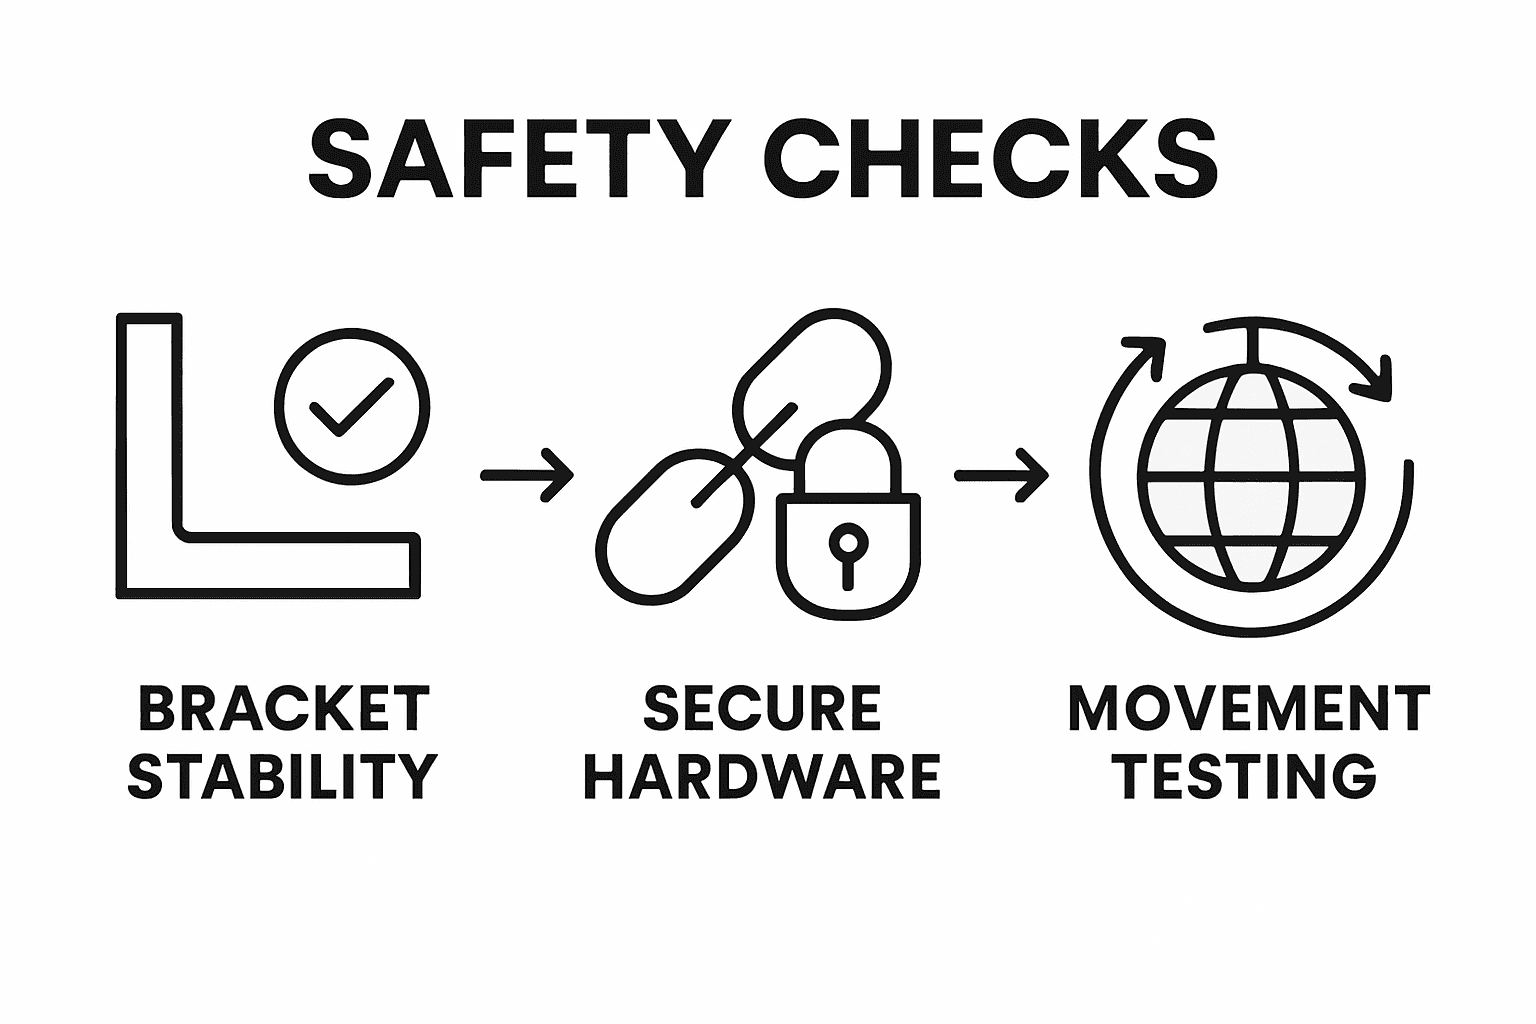
Perform dynamic testing by simulating potential movement scenarios. Gently rotate the mirror ball through its full range of motion, observing how it responds under different angles and positions. Listen for any unusual sounds that might indicate loose components or potential structural issues. For installations in performance venues or event spaces, consider additional load testing that mimics potential environmental stresses such as sound vibrations or accidental bumping. Confirm that all safety mechanisms including secondary suspension points function correctly and provide redundant protection.
Professional tip: Document your safety test results with dated notes and photographs, creating a record of your installation that can be referenced during future maintenance inspections.
Below is a summary of essential safety checks at the end of any mirror ball installation:
| Check Type | What to Inspect | Why It Matters |
|---|---|---|
| Connection Strength | Fastenings, bracket tightness | Prevents detachment and accidents |
| Suspension Integrity | Chains, cables, clips | Ensures continued stable support |
| Rotation Test | Motor movement, smooth swing | Detects mechanical issues early |
| Documentation | Photos, written notes | Aids future safety and maintenance |
Secure Your Mirror Ball Installation with Confidence
Mounting a mirror ball safely involves careful assessment of your mounting location and choosing the right fixtures and hardware to prevent accidents and ensure long-lasting performance. If you want to avoid common challenges like unstable brackets or insufficient load support, the insights from our safe mounting guide are essential. Your mirror ball deserves a reliable setup that balances aesthetics and security perfectly.

Explore our comprehensive selection of high-quality mirror balls and professional-grade accessories at https://mirror-balls.co.uk designed to meet your specific installation needs. Benefit from expertly crafted mounting solutions and packages that consider weight load and environmental factors for ultimate peace of mind. Start your secure installation journey today by visiting Mirror Ball Solutions and ensure your disco ball shines safely at every event.
Frequently Asked Questions
What is the best way to assess my mounting location for a mirror ball?
To assess your mounting location, examine the structural integrity of the wall or ceiling where you plan to install the mirror ball. Ensure it is made from robust materials like brick or concrete, and avoid thin surfaces like plasterboard. Measure and mark your mounting points precisely to ensure accurate and secure installation.
How do I choose the right fixtures and hardware for my mirror ball installation?
Select fixtures and hardware based on the wall type and the weight of your mirror ball. Use professional-grade mounting brackets and corrosion-resistant materials for durability and reliability. It’s advisable to ensure the selected hardware supports at least 2-3 times the weight of your mirror ball for added safety.
What are the essential steps for securely installing the mounting bracket for a mirror ball?
Begin by marking the precise mounting points and ensuring they are level. Drill clean holes according to the wall material, insert appropriate wall plugs, and tighten screws gradually to avoid structural weakness. Perform a stability test by applying gentle pressure before hanging the mirror ball to confirm the bracket is secure.
How can I ensure my mirror ball hangs safely after installation?
Use robust suspension hardware, such as safety cables or chains, to attach the mirror ball while ensuring multiple secure connection points. Align the ball horizontally and check its movement for smooth rotation. Regularly inspect the ball’s connection points to maintain operational safety.
What safety checks should I perform after mounting the mirror ball?
Conduct a thorough visual inspection of all connection points to identify any signs of stress or weakness. Test the stability and integrity by applying gentle pressure on each attachment point and performing dynamic movement scenarios. Document your results with notes and images for future reference during maintenance inspections.
Recommended
- How to Hang Mirror Balls Safely and Securely – Mirror Balls
- Mirror Ball Mounting Kits: Complete Guide for 2024 – Mirror Balls
- 7 Essential Steps for an Expert Mirror Ball Setup Checklist – Mirror Balls
- Mirror Ball Effect Creation: Step-by-Step Lighting Guide – Mirror Balls
- Medal Court Mounting: Tips and Techniques – The Regimental Store Ltd