A single misplaced mirror ball can spell disaster in any british venue, with reports showing that improper installation leads to nearly 40 percent of safety incidents involving ceiling-mounted décor. Whether you are planning a home party or upgrading a nightclub, the location and method you choose for hanging your mirror ball matters far more than many realise. This step-by-step approach will ensure your british installation is not only safe but also delivers showstopping sparkle that guests notice instantly.
Table of Contents
- Stage 1: Assess The Installation Location
- Stage 2: Select Suitable Hanging Hardware
- Stage 3: Measure And Mark Hanging Points
- Stage 4: Install And Secure Mounting Fixtures
- Stage 5: Attach And Hang Mirror Balls
- Stage 6: Test Stability And Adjust Position
Quick Summary
| Key Point | Explanation |
|---|---|
| 1. Assess Installation Location | Evaluate the mounting site carefully to ensure safety and optimal performance, avoiding weak surfaces like plasterboard or ceiling tiles. |
| 2. Choose Appropriate Hanging Hardware | Select heavy-duty cables or chains with a secondary safety system to securely support your mirror ball and prevent accidents. |
| 3. Measure and Mark Precisely | Use accurate measurements and tools to mark mounting points on the ceiling, ensuring symmetry and ideal positioning for aesthetic appeal. |
| 4. Securely Install Mounting Fixtures | Drill carefully and use appropriate anchor bolts to fix mounting fixtures, ensuring they align with structural joists for safety. |
| 5. Test Stability Post-Installation | After hanging the mirror ball, test its stability by observing movement characteristics and checking for any potential issues with the installation. |
Stage 1: Assess the Installation Location
Before suspending a mirror ball, you’ll need to carefully evaluate the precise mounting location to guarantee safety and optimal performance. A thorough site assessment prevents potential accidents and ensures your mirror ball installation looks spectacular.
According to blue-room, plasterboard ceilings alone cannot support mirror balls. You must locate and securely attach your mounting hardware directly to structural joists or robust ceiling beams. Start by using a stud finder to identify these critical support points. Tap the ceiling gently and listen for solid sounds that indicate wooden joists beneath the surface.
Avoid hanging mirror balls from weak surfaces like suspended ceiling tiles or decorative panels. These will almost certainly collapse under the weight. As blue-room warns, “ceiling tiles and their frames are not designed to bear the weight of mirror balls.” Instead, focus on finding solid, load-bearing structural points that can safely support your installation.
Once you’ve identified a strong mounting location, measure the distance from the ceiling and mark your precise hanging point. Ensure you have enough clearance for the mirror ball to rotate freely without striking walls or other obstacles. Your next step will involve selecting the appropriate mounting hardware for your specific ceiling type.
Stage 2: Select Suitable Hanging Hardware
Choosing the right hanging hardware is critical for safely suspending your mirror ball and preventing potential accidents. You’ll want to select robust mounting equipment that can securely support the weight and movement of your mirror ball.
According to blue-room, it is essential to implement a comprehensive suspension system that includes both a primary mounting mechanism and a secondary safety backup. For your primary suspension, consider using heavy-duty steel cables or robust chains rated for at least twice the weight of your mirror ball. Professional grade mirror ball mounts typically feature adjustable mounting points and swivel mechanisms to allow smooth rotation.
Blue-room strongly recommends installing secondary safety measures such as safety cables or retention nets. These backup systems provide an additional layer of protection, ensuring that if your primary mounting hardware fails, the mirror ball will not come crashing down. Look for safety cables with carabiner clips that can attach to multiple secure points, creating a redundant safety network.
When selecting your hardware, pay close attention to weight ratings, material strength, and compatibility with your specific ceiling structure. Stainless steel or zinc coated hardware offers superior durability and resistance to corrosion. Your next stage will involve carefully measuring and preparing to install these carefully selected mounting components.
Stage 3: Measure and Mark Hanging Points
Precision is paramount when preparing to hang your mirror ball, as accurate measurements will determine the overall aesthetic and safety of your installation. You’ll be creating the blueprint for a spectacular suspended display that looks professional and remains securely anchored.
According to DIY Doctor, accurate measurement and marking of hanging points are vital for proper mirror installation, ensuring the mirror is perfectly centered and positioned at the ideal height. Start by using a laser level or long spirit level to create perfectly straight reference lines across your ceiling. This will help you establish symmetrical mounting points that align with your room’s architectural features.
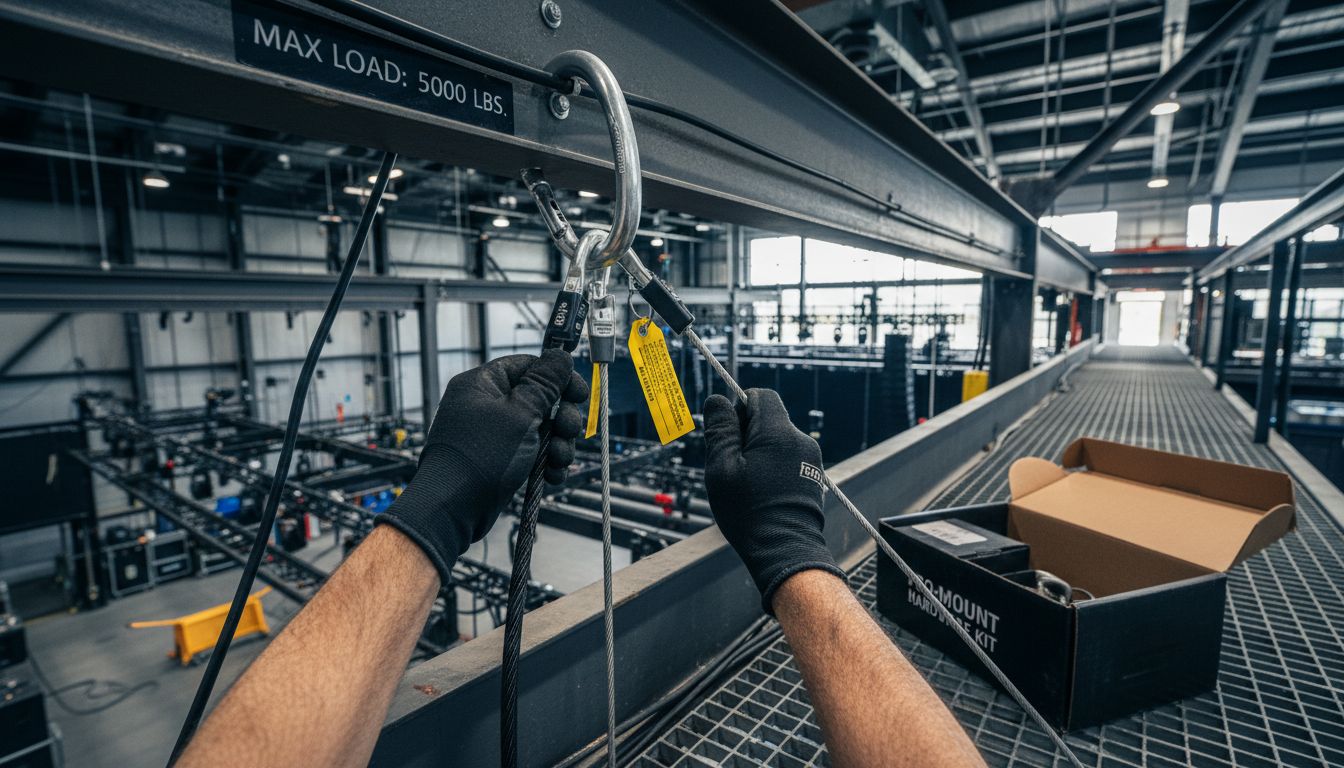
As blue-room emphasises, before making any marks, identify the precise positions of ceiling joists or structural beams. Using a reliable stud finder, locate these critical support points and mark them lightly with a pencil. Avoid marking directly on the ceiling surface where you plan to mount the hardware avoid unnecessary damage. Instead, use removable masking tape to indicate your exact mounting locations, which allows for easy adjustments and ensures you can reposition your marks without leaving permanent traces.
Once you have your mounting points carefully mapped out, double check your measurements to guarantee symmetry and optimal positioning. Your next step will involve preparing the specific mounting hardware for installation at these precisely determined locations.
Stage 4: Install and Secure Mounting Fixtures
With your precise measurements complete, you are now ready to transform your carefully planned hanging points into robust mounting fixtures that will support your mirror ball safely and elegantly. This stage requires meticulous attention to detail and a systematic approach to installation.
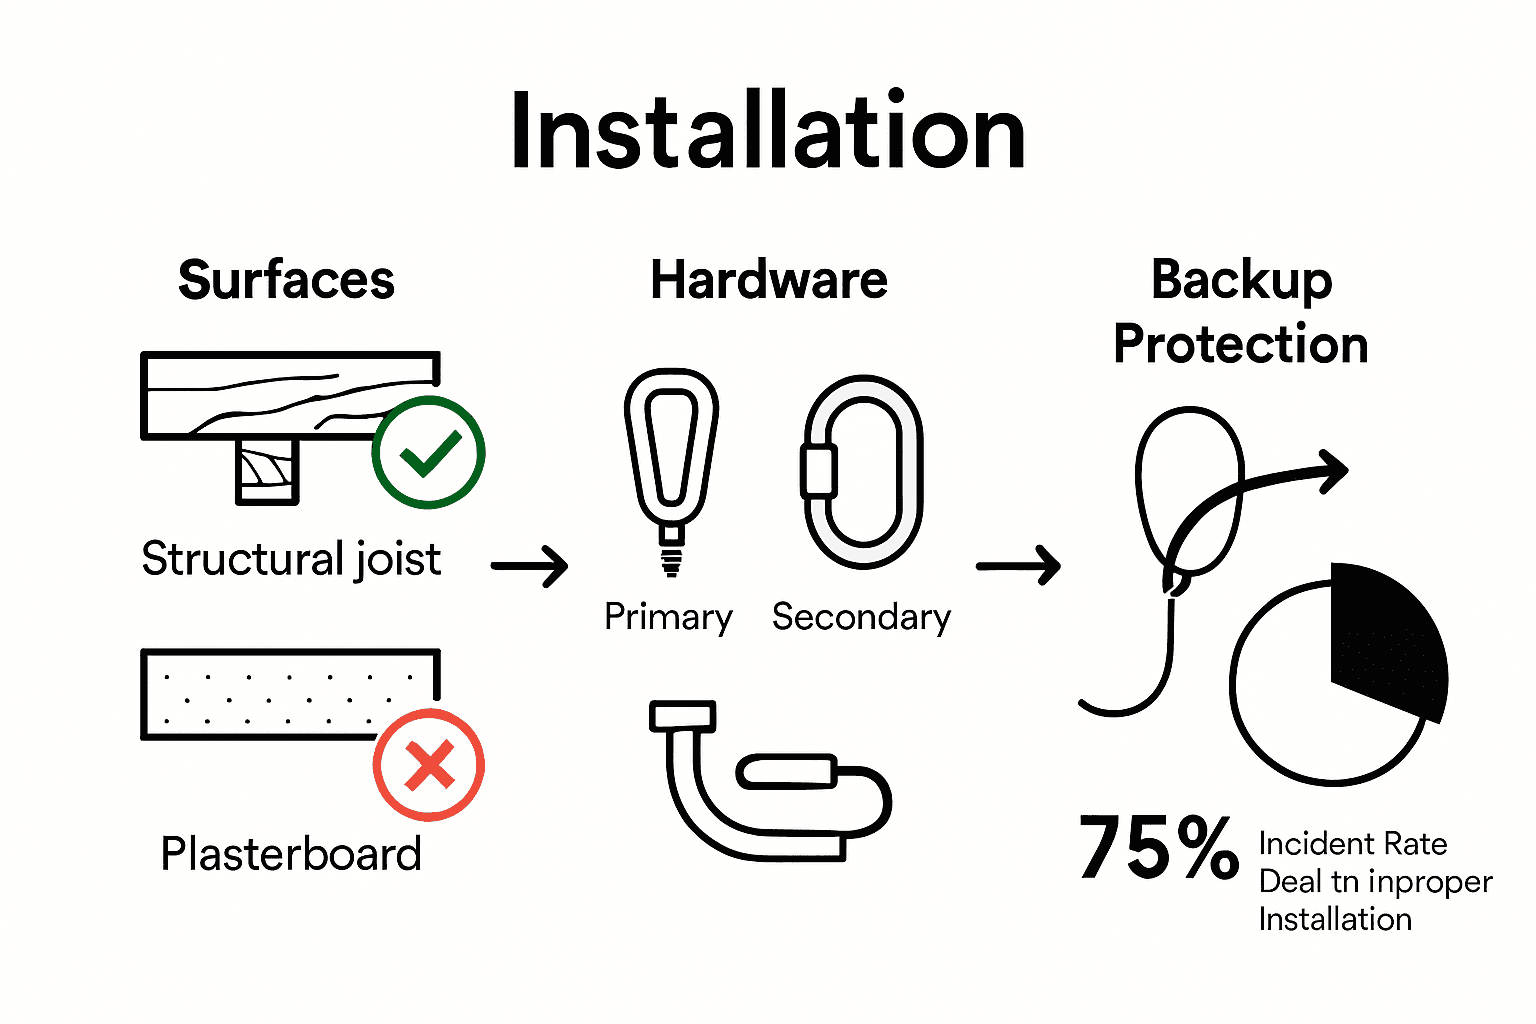
According to blue-room, secure mounting fixtures are essential for mirror ball installations, and over-engineering the suspension system can prevent potential accidents. Begin by drilling pilot holes at your marked locations, ensuring they align perfectly with the ceiling joists. Select heavy-duty anchor bolts that match the weight specifications of your mirror ball, typically using professional grade expansion bolts or sleeve anchors that provide maximum grip and stability.
As recommended by GGF, pay careful attention to spacing and avoid mounting fixtures flush against the surface. Use appropriate spacers to create a small gap that allows for air circulation and prevents potential stress points. Tighten each mounting point progressively and uniformly, using a torque wrench to ensure consistent tension. For added security, consider Mirror Ball Mounting Kits: Complete Guide for 2024 which can provide specialised hardware recommendations for your specific installation.
After installing your primary mounting points, double check each fixture’s stability by gently applying pressure and listening for any signs of movement or potential weakness. Your next stage will involve attaching the actual suspension hardware and preparing to hang your mirror ball.
Stage 5: Attach and Hang Mirror Balls
With your mounting fixtures securely installed, you are now ready to carefully attach and suspend your mirror ball, transforming your space with a stunning centrepiece that will captivate everyone’s attention. This delicate process requires precision and methodical handling to ensure both aesthetic appeal and safety.
According to blue-room, when attaching mirror balls, it is crucial to ensure the rotating unit is in good working order and consider implementing a secondary suspension system. Begin by carefully threading your primary suspension cable or chain through the mirror ball’s mounting ring, checking that the connection is tight and secure. Rotate the ball gently to confirm smooth movement and verify that the hanging mechanism allows for unrestricted rotation.
For enhanced safety, blue-room recommends implementing a secondary safety mechanism. For smaller mirror balls, this might involve using a plastic eyebolt with polystyrene friendly glue to provide an additional anchor point. If you want comprehensive guidance on creating a foolproof installation, check out our Complete Guide to Mirror Ball Safety UK for expert recommendations on preventing potential accidents.
Once your mirror ball is suspended, perform a final stability check by gently testing its movement and ensuring no unexpected swinging or tilting occurs. Your spectacular mirror ball is now ready to transform your space with its mesmerising reflective display.
Stage 6: Test Stability and Adjust Position
With your mirror ball now hanging, the critical final stage involves meticulously testing its stability and making precise adjustments to ensure optimal performance and safety. This comprehensive evaluation will determine whether your installation meets professional standards and provides the stunning visual effect you desire.
According to blue-room, regularly testing the stability of mirror balls and their mounting systems is essential. Begin by gently nudging the ball to observe its movement characteristics. The ball should rotate smoothly without excessive swinging or jerky motions. Check that the suspension points remain rigid and that no unexpected stress points have developed during the initial installation.
As blue-room recommends, conduct a thorough damage assessment during your stability test. Inspect the mirror ball carefully for any signs of potential issues such as loose mirror tiles, hairline cracks, or compromised mounting rings. If you discover any imperfections, consider professional repair or replacement to maintain the integrity of your installation. When adjusting the position, make incremental changes and retest after each modification to ensure continued stability and aesthetic appeal. For additional guidance on maintaining your mirror ball’s safety, review our Expert Mirror Ball Placement Ideas for Stunning Effects to refine your technique.
Once you are satisfied with the mirror ball’s stability and positioning, step back and admire your expertly installed centrepiece that promises to transform any space with its mesmerising reflective brilliance.
Experience Safe and Stunning Mirror Ball Installations Today
Hanging a mirror ball safely requires careful planning and the right hardware to avoid accidents and achieve that dazzling effect you want. Whether you are dealing with plasterboard ceilings or heavy professional-grade mirror balls, finding secure mounting points and using reliable suspension systems is absolutely crucial. Avoid the stress and uncertainty by choosing proven solutions designed for every installation challenge.

Discover a wide range of high-quality mirror balls and specialised mounting accessories at mirror-balls.co.uk. Our expert guidance and carefully curated products make it easy to create a spectacular centrepiece in your home or venue with confidence. Start your safe installation journey now by exploring our comprehensive selection and invest in peace of mind that lasts. Visit Mirror Balls to shop with assurance and bring your space to life with brilliance.
Frequently Asked Questions
How do I assess the installation location for a mirror ball?
To assess the installation location for a mirror ball, locate structural joists or ceiling beams using a stud finder. Ensure that you attach your mounting hardware directly to these strong support points, avoiding weak surfaces like plasterboard or ceiling tiles.
What type of hanging hardware should I use for a mirror ball?
Select heavy-duty steel cables or robust chains that are rated for at least twice the weight of your mirror ball. Incorporate a secondary safety measure such as safety cables to enhance the security of your installation.
How can I ensure precise measurements when hanging a mirror ball?
To ensure precise measurements, use a laser level or long spirit level to create straight reference lines across the ceiling. Mark the positioning of your hanging points lightly with removable masking tape to facilitate adjustments without damaging the ceiling.
What steps should I follow to install the mounting fixtures for a mirror ball?
Begin by drilling pilot holes at your marked locations, ensuring they align with the ceiling joists. Use heavy-duty anchor bolts for stability, and incorporate spacers to prevent stress points while tightening fixtures uniformly.
How do I check the stability of my hanging mirror ball?
To check the stability, gently nudge the mirror ball and observe its movement for smooth rotation without excessive swinging. Inspect it for any signs of damage or loose parts; if any issues arise, consider repairs or further adjustments as needed.
What should I do if my mirror ball is not positioned correctly after installation?
If your mirror ball is not positioned correctly, make incremental adjustments to its height or orientation and retest stability after each change. This iterative process ensures optimal positioning and enhances aesthetic appeal.