Building your own mirror ball lighting setup sounds like a wild weekend project, right? Think about this: with just some simple materials and smart planning, you can create mesmerizing reflections that turn any room into a party. The wild part is that with tiles as small as a quarter of an inch, you can scatter light in every direction and make even a tiny space feel totally transformed. Most people think you need pro equipment and a huge toolbox, but you actually need little more than patience and precision. So if you thought custom lighting was off limits, this project will definitely change your mind.
Table of Contents
- Step 1: Gather Your Materials And Tools
- Step 2: Set Up Your Mirror Ball Structure
- Step 3: Install The Lighting Fixtures
- Step 4: Position The Mirror Ball
- Step 5: Test The Lighting Effects
- Step 6: Finalize Your Setup And Enjoy
Quick Summary
| Key Point | Explanation |
|---|---|
| 1. Gather essential materials and tools | Collect styrofoam or plastic spheres, mirror tiles, adhesive, and precise crafting tools before starting your project. |
| 2. Prepare your mirror ball base carefully | Clean the sphere surface thoroughly and mark guide lines for even tile placement to ensure a professional appearance. |
| 3. Select optimal lighting fixtures | Use LED or disco lights positioned strategically for maximum reflection and ambiance in your space. |
| 4. Ensure safe and sturdy installation | Select reliable mounting points that can support the mirror ball’s weight and allow for effective light dispersion. |
| 5. Test and adjust lighting effects | Experiment with different light colors and angles to achieve the desired visual effects before final setup. |
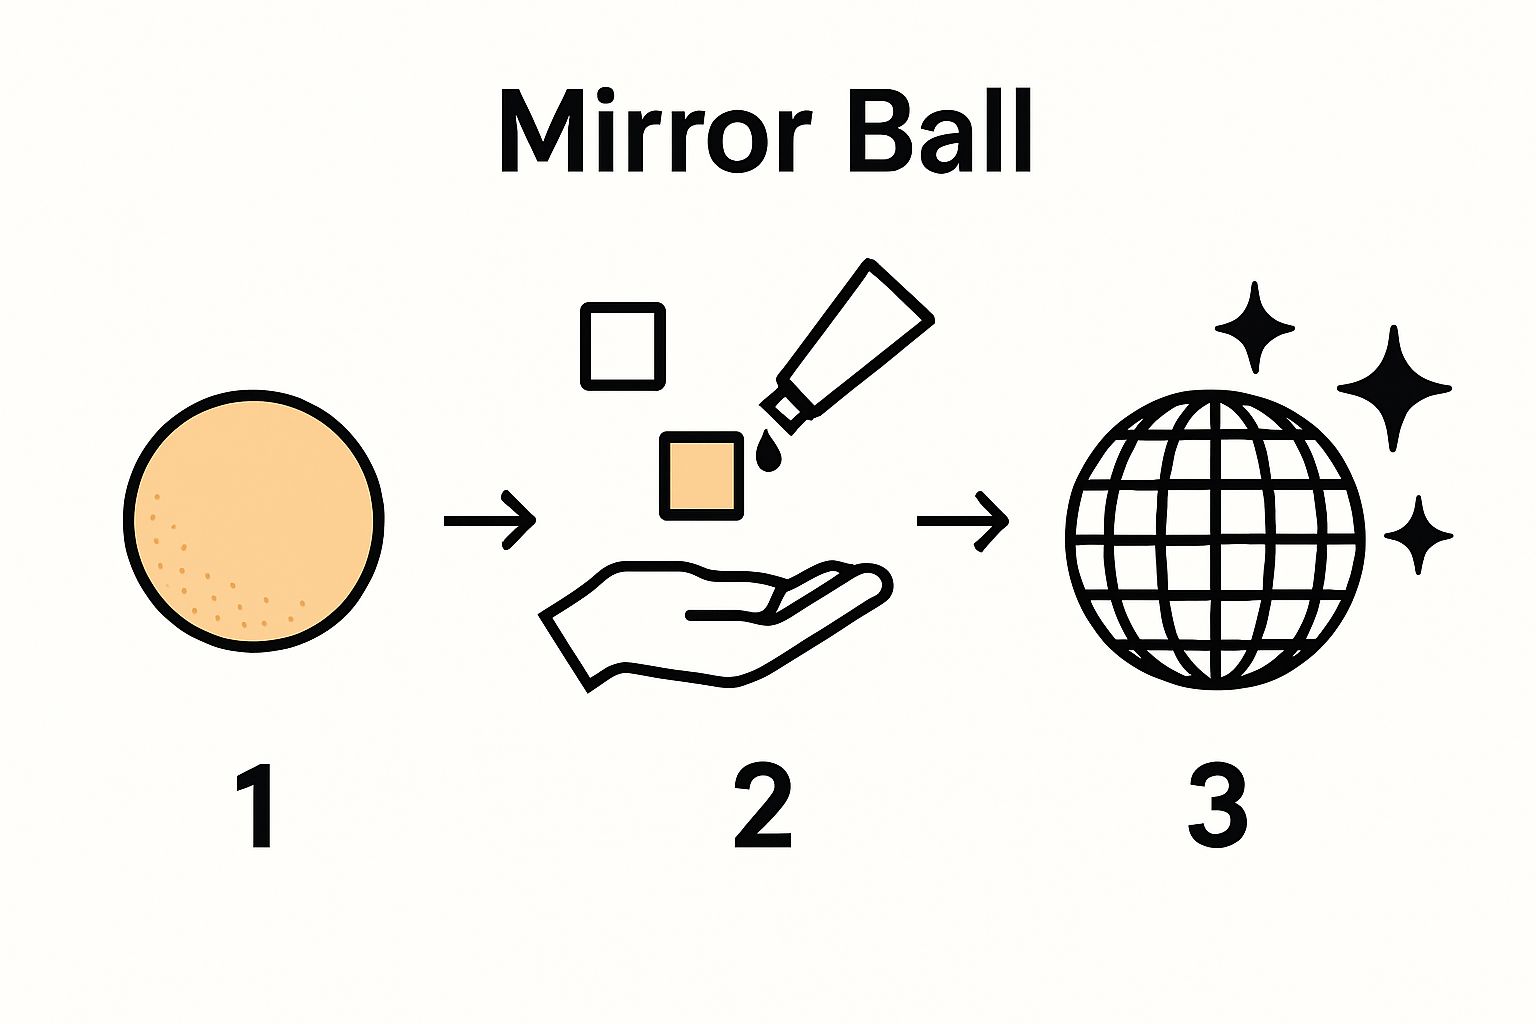
Step 1: Gather Your Materials and Tools
Creating a stunning DIY mirror ball lighting project starts with assembling the right materials and tools. This foundational step ensures you have everything necessary to transform your space with a dazzling disco ball that reflects light and energy.
For your mirror ball lighting project, you will need several essential components. Precision and preparation are key to achieving a professional looking result. Start by collecting a spherical base that will serve as your mirror ball core. Typically, styrofoam or plastic spheres work best, available at craft stores or online retailers. Choose a size that matches your intended installation space.
The most critical materials include small mirror tiles or reflective mosaic pieces, which will create the signature sparkling effect. Look for tiles between 1/4 to 1/2 inch (5mm to 10mm) in size for optimal light reflection. You will also require strong adhesive specifically designed for attaching small tiles to your base material. Silicone adhesive or specialized craft glue works exceptionally well, providing a secure bond that withstands movement and temperature variations.
Your toolkit should include several precise instruments to ensure clean, accurate work:
- Protective work gloves
- Sharp craft knife or tile cutter
- Ruler or measuring tape
- Tweezers for placing small mirror tiles
- Disposable work surface or cutting mat
- Safety glasses
Additionally, you will need a hanging mechanism such as a sturdy metal loop or robust wire that can support the mirror ball’s weight. Select a suspension point in your space that allows maximum light dispersion and rotational potential.
Before beginning the project, create a clean, well ventilated workspace with adequate lighting. Lay out all materials systematically and ensure you have sufficient time to complete the project without rushing. Patience during this preparation stage will significantly impact your final mirror ball’s quality and appearance.
Below is a table summarizing the essential materials and tools needed for your DIY mirror ball lighting project, with descriptions and their primary purposes.
| Material or Tool | Description | Purpose |
|---|---|---|
| Styrofoam or Plastic Sphere | Spherical core, available in various sizes | Serves as the base structure for tiling |
| Mirror Tiles/Mosaic Pieces | 1/4 to 1/2 inch (5mm to 10mm) reflective tiles | Creates sparkling, reflective surfaces |
| Strong Adhesive | Silicone or craft glue, tile-appropriate | Secures mirror tiles to the sphere |
| Protective Work Gloves | Durable gloves for handling tools and materials | Protects hands from injury |
| Craft Knife/Tile Cutter | Sharp instrument for precision cutting | Cuts tiles to fit curved surfaces |
| Ruler or Measuring Tape | Standard measuring tools | Marks guiding lines for symmetry |
| Tweezers | Fine-point tweezers, crafting quality | Places small mirror tiles accurately |
| Hanging Mechanism | Sturdy metal loop or robust wire | Suspends the finished mirror ball |
Careful material selection transforms an ordinary crafting project into an extraordinary lighting installation that will become a focal point in any room.
Step 2: Set Up Your Mirror Ball Structure
Now that you have gathered your materials, setting up the foundational structure for your DIY mirror ball is a critical next step that will determine the overall quality and appearance of your lighting project. This phase transforms your raw materials into a promising canvas for reflection and illumination.
Preparing the base sphere requires careful attention to detail. Select your styrofoam or plastic sphere and thoroughly clean its surface to ensure optimal tile adhesion. Any dust, oils, or residue can compromise the mirror tiles’ attachment, so use a mild cleaning solution and allow the sphere to dry completely. Surface preparation is paramount to creating a professional looking mirror ball.
Position your sphere on a stable work surface that allows you to rotate and access all angles comfortably. Some crafters find using a small stand or temporary holder helps maintain consistent positioning during the tiling process. Check out our guide on mirror ball troubleshooting to avoid common mistakes during structure creation.
Measure and mark reference lines around the sphere to help maintain symmetry and even tile distribution. Using a ruler and pencil, create gentle meridian lines that divide the sphere into roughly equal sections. These guide lines will prevent clustering or uneven mirror tile placement, ensuring a balanced and visually appealing final product.
Before applying adhesive and tiles, do a preliminary dry fit. Arrange a small section of mirror tiles around the sphere without gluing to understand spacing, alignment, and potential visual patterns. This rehearsal helps you develop a consistent approach and identify any potential challenges before committing to permanent placement.
When you are ready to begin tiling, work in small, manageable sections. Apply a thin, even layer of silicone adhesive using a precision applicator or toothpick. Work slowly and methodically, placing each mirror tile with tweezers to maintain accuracy. Maintain a slight gap between tiles to allow for subtle light refraction and movement.
As you progress, periodically step back and assess your work from different angles. This helps ensure symmetry and catches any potential alignment issues early in the process. The goal is a smooth, almost seamless surface that will transform light into a mesmerizing display when your mirror ball is complete.
A successful structure setup sets the stage for the next phase of your DIY mirror ball lighting project, bringing you closer to creating a stunning visual centerpiece that will captivate any space.
This table offers a quick reference overview of each main step in the DIY mirror ball lighting project, including the primary focus and key outcome of every stage.
| Step | Main Focus | Key Outcome |
|---|---|---|
| Gather Materials & Tools | Assemble all required items | Ready workspace and complete material set |
| Set Up Structure | Prepare and mark sphere | Symmetrical, adhesive-ready mirror ball base |
| Install Lighting Fixtures | Select and mount lighting | Dynamic, focused light sources prepared |
| Position Mirror Ball | Mount and adjust hanging height | Ideal placement for lighting effects |
| Test Lighting Effects | Experiment with light/color/angles | Optimized reflections and atmosphere |
| Finalize & Enjoy | Secure components and maintain | Finished, reliable lighting centerpiece |
Step 3: Install the Lighting Fixtures
With your mirror ball structure completed, the next crucial phase involves installing lighting fixtures that will bring your creation to life. Proper lighting selection and placement are essential for creating the dynamic, immersive experience that makes mirror balls so captivating.
Begin by selecting appropriate lighting fixtures that complement your mirror ball’s size and intended installation environment. LED par lights or specialized disco lighting work exceptionally well, providing bright, focused illumination that maximizes the reflective potential of your mirror tiles. Color temperature and intensity matter significantly in determining the overall visual impact of your lighting setup.
Explore our guide on mirror ball lighting effects to understand different lighting configurations and their unique visual dynamics. Consider the surrounding space and the mood you want to create when positioning your lights. Optimal placement involves positioning fixtures at strategic angles that allow maximum light reflection across the entire room.
Electrical safety becomes paramount during this installation stage. Ensure all electrical connections are secure and properly insulated. If you are not confident in electrical work, consult a professional electrician who can help you safely mount and wire the lighting fixtures. Use heavy duty mounting brackets that can support the weight of your lights and provide stable, vibration free positioning.
Rotational mechanisms add another layer of visual complexity to your mirror ball lighting. Consider installing a motorized mount that allows slow, smooth rotation. This gentle movement creates mesmerizing light patterns that dance across walls and surfaces, transforming any space into a dynamic visual experience. Some motorized mounts come with adjustable speed settings, allowing you to control the intensity of the lighting effect.
When positioning your lights, experiment with multiple angles and distances. Test different configurations by temporarily positioning lights and observing their reflection patterns. Some crafters find that placing lights at varying heights and distances creates more interesting and complex light distributions. Use clamp lights or adjustable stands that allow precise positioning and easy recalibration.
Verify your lighting installation by conducting a comprehensive test. Dim the ambient room lighting and observe how your mirror ball interacts with the installed fixtures. Look for even light distribution, minimal shadowing, and the desired visual effect. Make incremental adjustments to light positioning until you achieve the perfect balance of reflection and illumination.
A well executed lighting installation transforms your DIY mirror ball from a simple craft project into a stunning visual centerpiece that can elevate any environment with its dynamic, shimmering presence.
Step 4: Position the Mirror Ball
Positioning your newly crafted mirror ball is a critical step that can dramatically transform the atmosphere of your space. Placement is everything when it comes to maximizing the visual impact and light reflection of your DIY lighting project.
Learn more about using mirror balls to enhance home atmosphere and discover the nuanced art of perfect positioning. The ideal location depends on several key factors, including room size, ceiling height, and the intended visual effect. Ceiling mounting provides the most dynamic lighting potential, allowing the mirror ball to rotate freely and cast light across the entire space.
Carefully select a sturdy mounting point that can support the weight of your mirror ball. Structural integrity is paramount. Use a heavy-duty ceiling hook or mounting bracket rated for the specific weight of your mirror ball. Professional-grade anchor points or ceiling studs offer the most reliable support, preventing potential accidents or damage.
Consider the room’s overall layout and existing light sources. Position the mirror ball where it can catch and reflect light most effectively. Avoid placing it directly in front of windows or intense light sources that might overwhelm its reflective capabilities. The sweet spot typically involves positioning the ball where ambient and directional lighting can interact with its mirrored surface.
Height plays a crucial role in creating the desired visual effect. For most residential spaces, hanging the mirror ball between 6 to 8 feet from the floor provides optimal light distribution. This height allows the reflected light to spread across walls and surfaces without creating harsh direct glares. In larger spaces like event venues or dance areas, you might experiment with slightly higher or lower positions.
Rotational mechanism placement requires additional consideration. If you’ve incorporated a motorized mount, ensure the rotation mechanism has sufficient clearance from walls and other objects. Smooth, unobstructed movement is key to creating those mesmerizing light patterns that make mirror balls so captivating.
Practical testing is essential. Temporarily position the mirror ball using adjustable supports or temporary mounting. Turn on your lighting fixtures and observe how light reflects throughout the space. Watch for potential dead zones or areas with insufficient light coverage. Make incremental adjustments to find the perfect balance of illumination and visual drama.
Remember that positioning is both an art and a science. Each space is unique, and what works perfectly in one room might require slight modifications in another. Trust your creative instincts while remaining attentive to the practical considerations of light, space, and structural support.
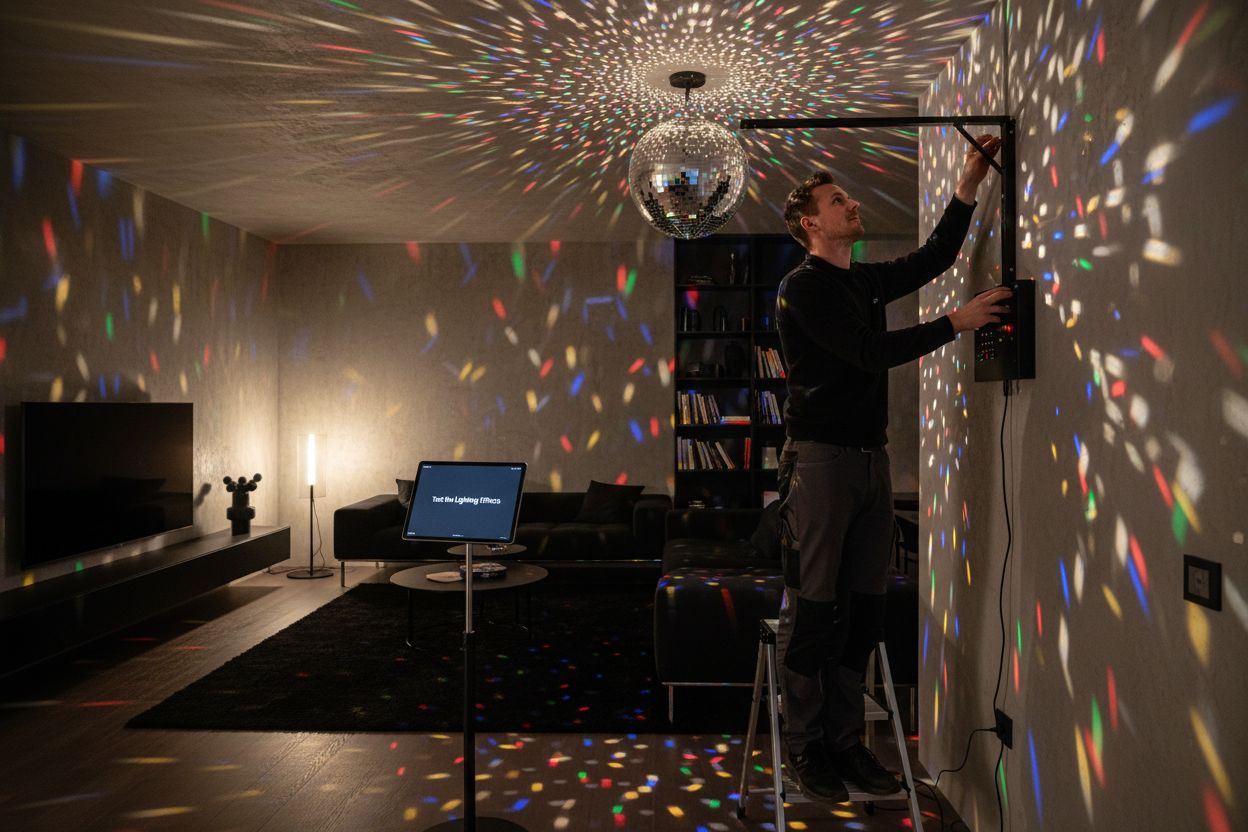
Step 5: Test the Lighting Effects
Testing the lighting effects of your DIY mirror ball represents the most exciting phase of your project, where all your careful preparation transforms into a spectacular visual experience. Precise testing reveals the true magic of your custom lighting installation and allows for final refinements that elevate the entire setup.
Begin by creating a controlled testing environment. Dim the ambient room lighting to minimize external interference and allow your mirror ball’s reflective qualities to shine fully. Explore our comprehensive guide on mirror ball lighting techniques to understand the nuanced ways light can interact with your creation.
Systematic testing involves multiple lighting scenarios. Start with standard white LED lights to assess the basic reflection patterns. Observe how light disperses across walls, floors, and surrounding surfaces. Watch for any unexpected shadows or areas with minimal light coverage. Take mental notes or even photograph these initial test results to help guide potential adjustments.
Next, experiment with colored lighting to dramatically transform the room’s atmosphere. Many LED fixtures offer programmable color options that can shift gradually or change rapidly. Test different color combinations to understand how various hues interact with your mirror ball’s reflective surface. Some colors create more intense, saturated effects, while others produce softer, more subtle light distributions.
Rotational speed plays a crucial role in creating dynamic lighting effects. If your mirror ball includes a motorized mount, test multiple rotation speeds. Slow rotations create gentle, sweeping light patterns that slowly traverse room surfaces. Faster rotations generate more energetic, rapidly changing light displays that can transform the entire mood of a space.
Pay close attention to light intensity and spread. Optimal mirror ball lighting should create a balanced, immersive effect without overwhelming the space. Adjust your lighting fixtures’ positioning, angle, and intensity to achieve the desired visual impact. Some crafters prefer using multiple smaller lights instead of a single powerful fixture to create more nuanced reflection patterns.
Consider the practical applications of your mirror ball lighting. Test how it performs in different scenarios like background ambient lighting for a dinner party, mood lighting for a home studio, or dynamic effects for a small gathering. Each context might require slight modifications to your lighting setup.
Final verification involves a comprehensive assessment. Step back and critically evaluate the overall effect. Does the lighting create the atmosphere you envisioned? Are there any unexpected glare points or areas of insufficient illumination? Be prepared to make subtle adjustments to achieve the perfect balance of light, reflection, and visual drama.
Step 6: Finalize Your Setup and Enjoy
As you reach the final stage of your DIY mirror ball lighting project, finalization transforms your creative vision into a functional work of art. This concluding step involves precision, attention to detail, and celebrating the unique lighting installation you have meticulously crafted.
Discover the best mirror ball sizes for different spaces to ensure your installation complements your specific environment. Carefully inspect all connections, mounting points, and electrical components one final time. Structural integrity and safety are paramount in creating a reliable lighting feature that will provide years of enjoyment.
Secure all electrical connections using professional grade cable management techniques. Use cable clips or discrete cable channels to organize wiring, preventing potential tangling or accidental disconnection. Ensure any exposed wires are properly insulated and protected from potential environmental stressors like heat, moisture, or accidental impact.
Consider creating a dedicated control system for your mirror ball lighting. Smart plugs or programmable light switches can add convenience and versatility to your installation. Some enthusiasts integrate their mirror ball lighting with home automation systems, allowing for remote control and customized lighting scenes that can be activated with a simple smartphone app or voice command.
Maintenance becomes crucial for long-term performance. Develop a regular cleaning routine that keeps your mirror ball’s reflective surface pristine. Use soft, lint-free microfiber cloths to gently remove dust and prevent buildup that might diminish the lighting’s reflective quality. Avoid using harsh chemical cleaners that could damage the mirror tiles or underlying adhesive.
Experiment with different ambient environments to maximize your mirror ball’s potential. Try positioning it in various rooms or settings to understand how changing backgrounds and lighting conditions affect its visual impact. Some crafters find that mirror balls create stunning effects in unexpected spaces like home offices, meditation rooms, or creative studio areas.
Document your creation through photography and video. Capture the mirror ball’s lighting effects at different times of day and with various color configurations. These recordings not only serve as a personal memento of your creative process but can also inspire other DIY enthusiasts who might want to create similar lighting installations.
Ultimately, this project is about creating a personal expression of light and creativity. Your mirror ball is more than just a lighting fixture it is a dynamic piece of functional art that reflects your imagination and technical skill. Take a moment to appreciate the transformation you have achieved, turning raw materials into a mesmerizing visual experience that can dramatically enhance any space.
Ready to Take Your Mirror Ball Lighting Project to the Next Level?
After following each step of the DIY guide, many creators hit a major obstacle: Finding top-quality mirror balls and components that actually deliver stunning lighting effects. A lot of home crafters struggle with flimsy products, unreliable adhesives, mismatched sizes, or lackluster sparkle. If you want your installation to look professional and shine as brightly as possible, cutting corners just is not an option. The article highlights the importance of premium materials, safe mounting, mirror tile precision, and making the right lighting choices. All of these details matter for a breathtaking result, but finding exactly what you need can be overwhelming.
Why settle for uncertainty with your next DIY mirror ball lighting project? Find every size, style, and accessory in one place at mirror-balls.co.uk. Browse our broad selection of high quality mirror balls and packages, from compact disco balls for your living room to giant venue-ready options for event spaces. We offer robust mounting kits, trusted adhesive solutions, and expert guidance too. Whether your goal is decorative ambiance or a true statement piece, our products ensure you achieve vibrant, lasting effects. Shop now to give your space the brilliant transformation it deserves and enjoy fast delivery on orders placed today.
Frequently Asked Questions
What materials do I need to create a DIY mirror ball?
To create a DIY mirror ball, you’ll need a spherical base (styrofoam or plastic), small mirror tiles or reflective mosaic pieces, strong adhesive (like silicone or craft glue), and tools such as a craft knife, ruler, tweezers, and protective equipment.
How should I prepare the base sphere for tiling?
Clean the surface of your chosen sphere to remove dust and oils. Use a mild cleaning solution and let it dry completely. Mark reference lines on the sphere to help maintain symmetry during tile placement.
What type of lighting fixtures work best with a mirror ball?
LED par lights or specialized disco lighting are ideal as they provide bright, focused illumination. Consider the color temperature and intensity to create the desired visual effects.
How can I test the lighting effects of my mirror ball?
Dim the ambient room lighting and conduct systematic tests with different light scenarios. Start with white LED lights, then experiment with colored lighting and various rotation speeds to find the best combination for your setup.
Recommended
- Understanding Why Use Mirror Balls at Home for Atmosphere – Mirror Balls
- 7 Examples of Mirror Ball Effects for Stunning Events – Mirror Balls
- Toby Harris, Author at Mirror Balls
- 7 Best Mirror Ball Sizes for Every Event and Venue – Mirror Balls
- 7 Custom Lighting Ideas for Designers to Transform Spaces